Programming an LED
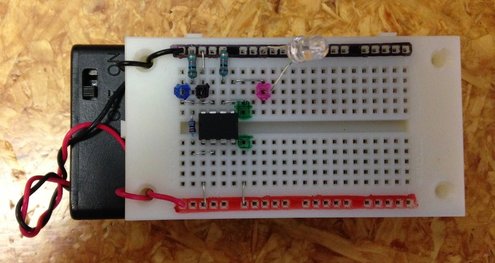
Put an LED into your breadboard with the positive (longer) leg going into the pink dot on the breadboard and the negative (shorter) leg going into the negative rail on the breadboard like this:
Start with the following basic program:

Make sure your download cable is plugged in. Download the program by selecting F5 on your computer or PICAXE -> Program from the AXEpad menu.
What do you notice happens to the LED?
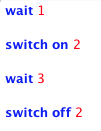
Now try changing the numbers in the program like this:
What do you notice happens to the LED?
Now try changing the numbers in the program like this:

You should get a little something like this:
Changing the numbers helps to learn what the wait and switch on program commands do.
Now try this program:
Now try this program:
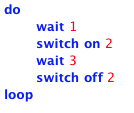
What about if you wanted to keep this sequence going?
Try this:
Try this: